Clark Personnel - SelfServe Guide
Welcome to SelfServe
SelfServe is your one stop portal for Employee related activities. From updating contact information, to keeping track of upcoming assignments, to reprinting copies of your Check stub. SelfServe provides you with the tools you need to access information most important to you.
From this secure site you will be able to access your payroll history, payroll check stubs, and ACH advices, view your position details and update some of your personal information. A valid email address and Internet connection are required to use this service.
https://portal.pfd.snb.com/?L=1800004
The first step is registering for SelfServe and you will need your business key (select appropriate key above). You will need to enter this key during the registration process and use it each time you login.
.png)
Registration
To begin the process, click the Employee Registration button.
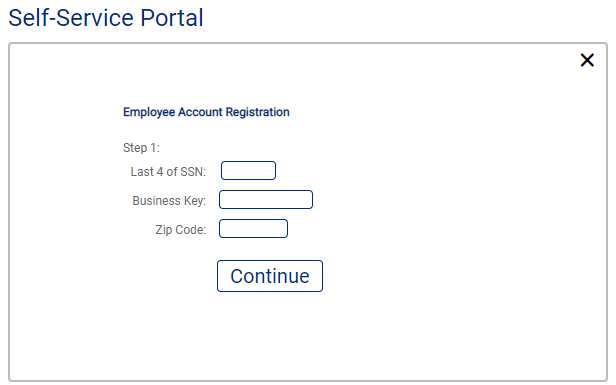
A pop-up window will step you through the process of registering.
- Enter the last 4 digits of your SSN
- Enter Business Key: 1800004
- Enter the Zip Code of your home address
- Follow the prompts to complete registration
Logging In
After you have completed the registration process, an email will be sent to you with a temporary password and link to the site. The first time you login, you will be asked to change your password by following the steps below. You are now ready to begin using SelfServe.
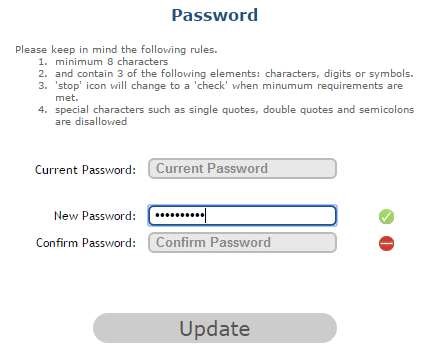
Please note the following when creating a password:
The password must contain 3 of the following elements; lower case letters, upper case letters, and either a number or symbol.
Until this criterion has been met, the  sign will remain. When you have successfully entered your password a check will appear
 .
.
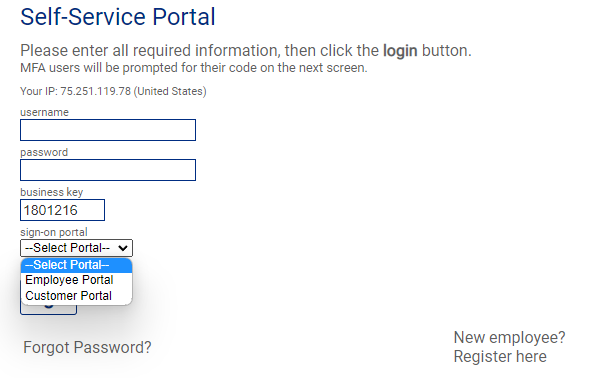
Enter your username, password, Business Key and choose Employee Portal. Once you have entered all the login information click sign in, below the password box.
Forgot Password / Username
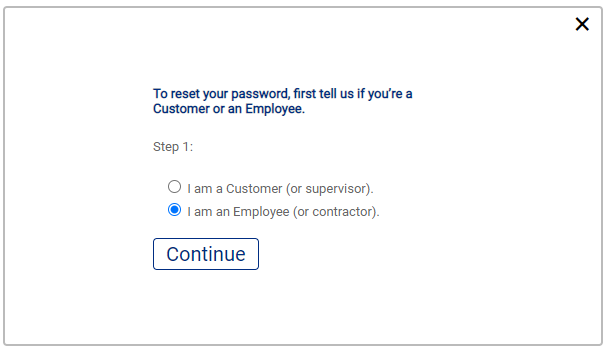
If you forgot your password, you can retrieve it by selecting the Forgot Password option below the sign in button. A pop-up window will open to walk you through the steps of retrieving your login credentials.
- Select “I am an Employee (or contractor).” and click “Continue”
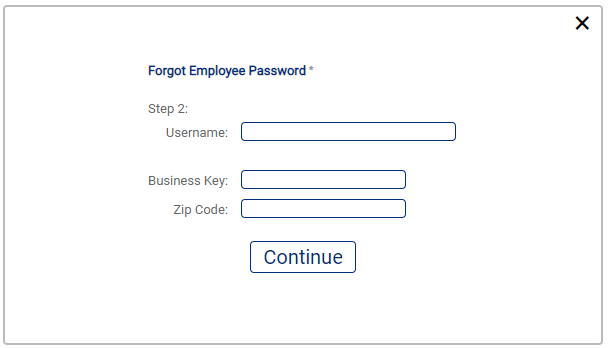
- Enter your “Username” (which is typically your email address)
- Enter the Business Key: 1800004
- Enter your home address Zip Code
- Click “Continue”
Application View
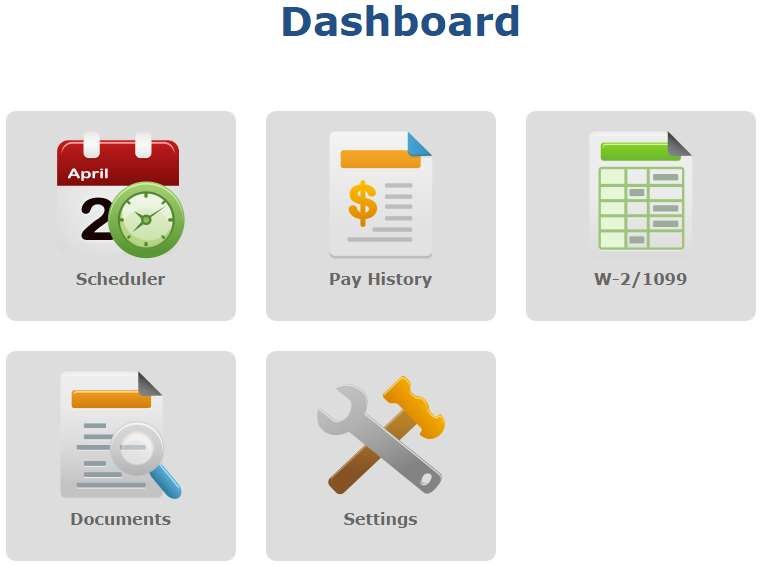
After you have successfully logged in, you will then see the ‘Dashboard’.
Pay History and W2/1099 Retrieval
SelfServe gives you the ability to retrieve a full pay history and pay stubs based on a range of dates that you select. Your W2/1099 copies are available as well.
To view your payroll history, click Pay History from the Dashboard.
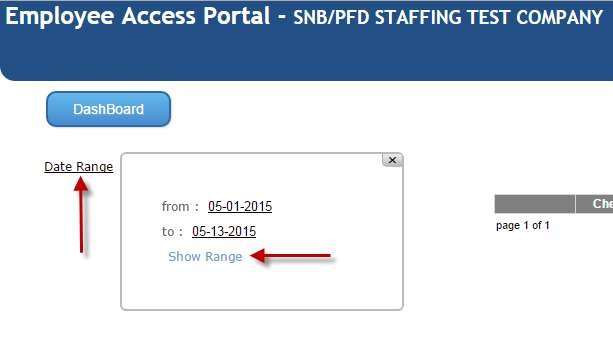
Click on the date range to set the period you wish to view. When you click the From and To dates, a calendar will pop up. Select the month and click on the day you would like to set for your range, and then click Show Range.
All of your associated checks will be listed.
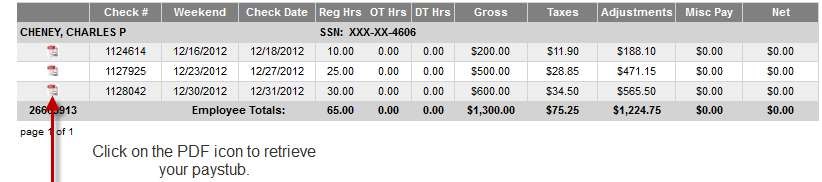
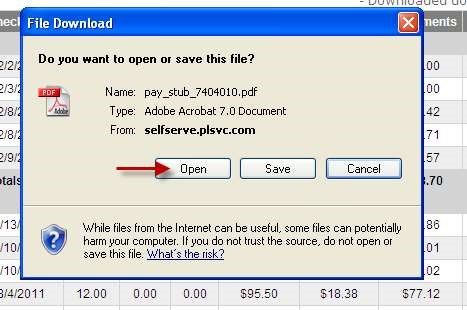
To view each payroll record, double click on the PDF icon. A new window will open with a PDF copy for you to view, save to your desktop or print.
To access your W2/1099 copy, click W-2/1099 on the Dashboard and click on the PDF icon as you would to retrieve your payroll stub.
Settings
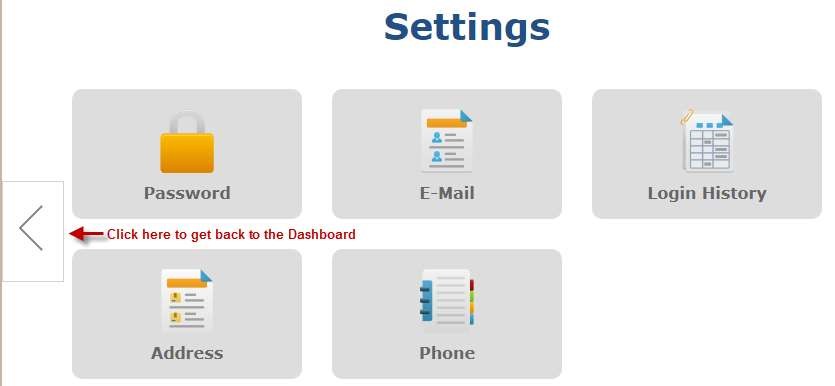
Clicking Settings on the Dashboard will allow you to change your personal information, update contact information, set your email preferences, change your password, and view your login activity.
Password
To change your password, click the “Password” button on the Settings ribbon at the top of the screen and follow the instructions. The change password wizard will guide you through the process, automatically changing the minus sign to a check when the information entered is correct.
Email
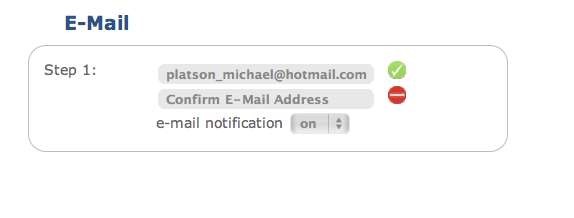
To change your email address, select the E-Mail button from the Settings ribbon. Similar to the Password function, the E-mail wizard will let you know if the information entered is valid by changing the minus sign to a check. Once the wizard determines that both email fields are valid you will be prompted to enter your current password followed by your new email address.
Make sure the email notification is on to receive email notification when your submitted time has been modified.
Address
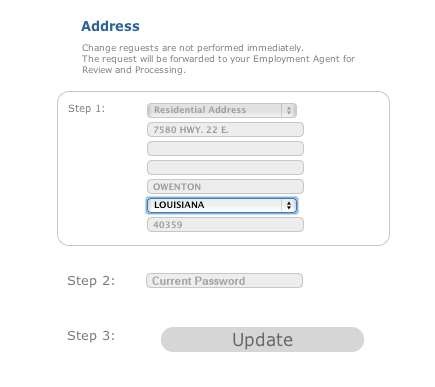
To update your address, click on the Address button from the Settings ribbon. Please follow the guided step process to update your contact information.
Please note: Changing contact information will send a request to the agent to update your contact information.
Phone
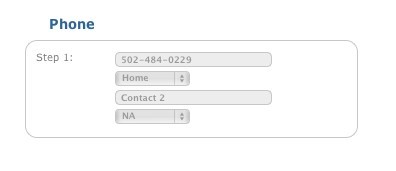
To update your phone numbers, click on the Phone button from the Settings ribbon. A dialog will open allowing you to add up to four phone numbers and specify their location.
Login History
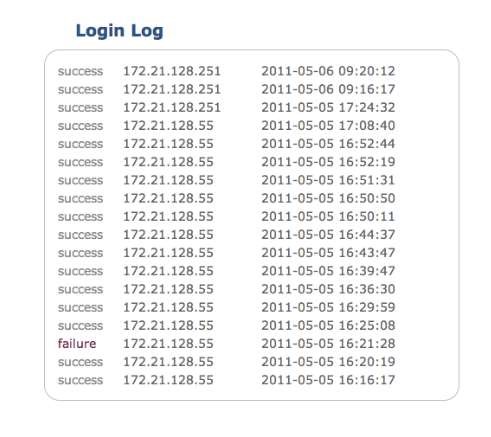
The Login History button in the Settings ribbon provides a detailed look at the login information for your account. This is important if you believe that an unauthorized user is trying to access your account or if you want to check to make sure you know all of the incoming connections to your account. The login attempts that failed will say “failure” in red.
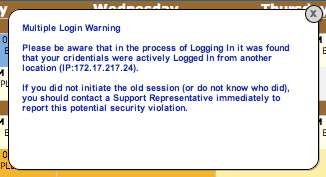
Additionally to make sure that you are fully aware of your account access SelfServe will notify you of simultaneous logins and log out the first session.
When you have completed using SelfServe, click on the “Logout” tab on the main banner.