Kent Daniels & Associates - WebTime Guide
Welcome
Welcome to the Oasis WebTIME electronic time entry and SelfServe system.
SelfServe is your one stop portal for approving your Employee hours, viewing reports created specifically for you, accessing electronic invoice copies, and keeping track of all Employees that have worked for you. SelfServe provides you with the tools you need to access information most important to you.
SelfServe is your one stop portal for approving your Employee hours, viewing reports created specifically for you, accessing electronic invoice copies, and keeping track of all Employees that have worked for you. SelfServe provides you with the tools you need to access information most important to you.
The following guide will assist you in logging into SelfServe/WebTIME to access your reports, invoice copies and approve time for the employees working for you
When you access the link to the WebTIME site, the following screen will be displayed:
https://portal.pfd.snb.com/?L=1806115
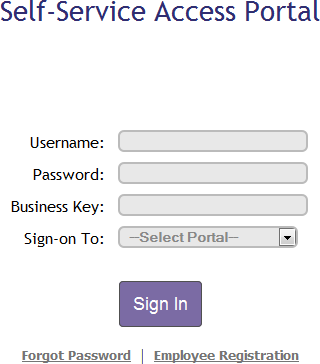
For your convenience, your username and password will be your email address for the initial login. Once you login, you will be asked to change your password to something more secure. The Business Key [1806115] is assigned by your Staffing Agency Representative.
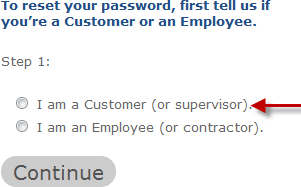
Please note if you should forget your password at any time, you may click on the Forgot Password link, choose ‘I am a Customer (or supervisor) and click Continue
When the below dialog box appears, enter your email address as the username and enter the business key which would be supplied by your Staffing Agency Representative.
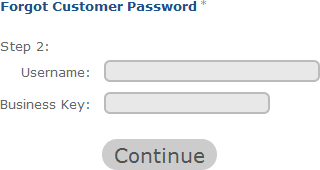
After clicking Continue, you will receive an email with your original default password.
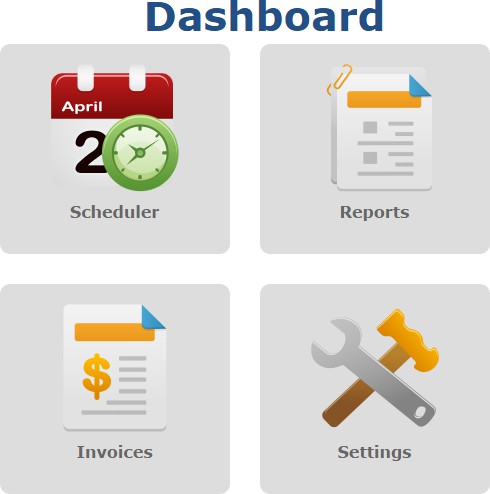
After your successful login, you will see the ‘Dashboard’. These
shortcuts allows easier navigation on the site.
Scheduler
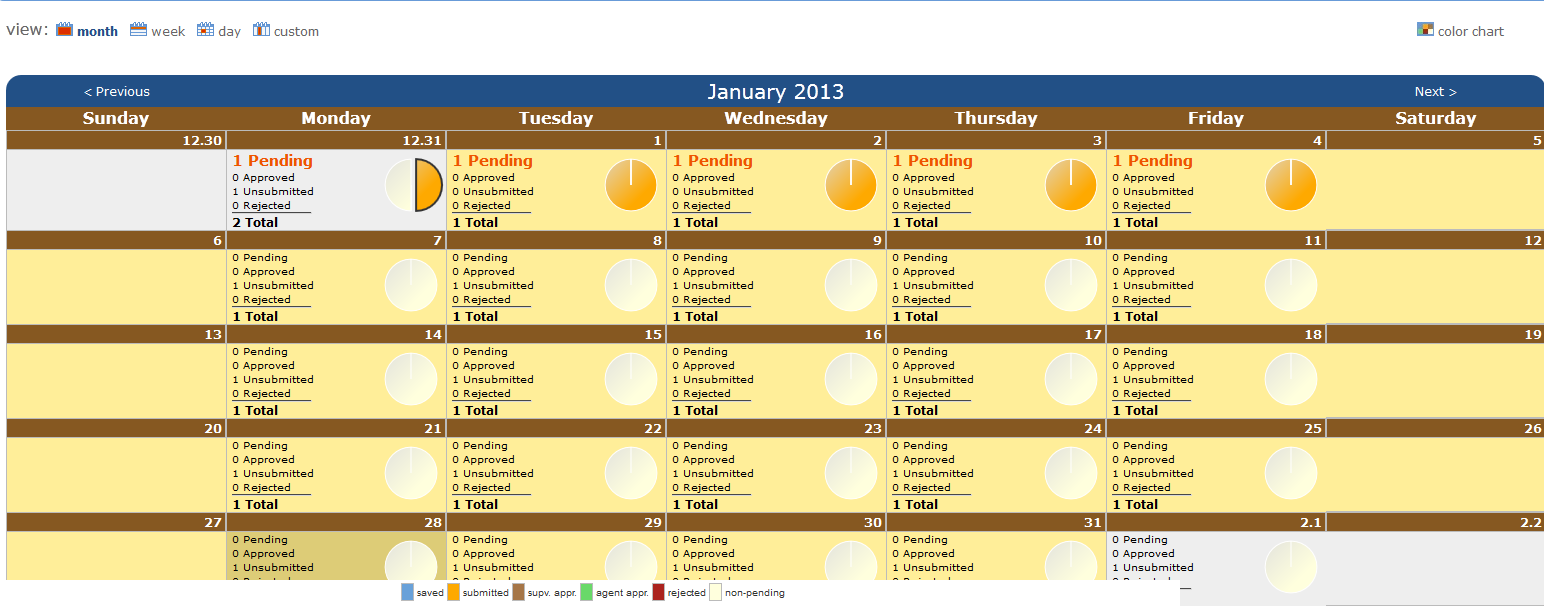
Clicking on Scheduler will pull up a monthly calendar format and which will also provide a color coded quick overview of the status of all your employee’s time.
If you would like to view the activity for the week, click on the Week button at the top of the screen. To drill down further from the week view, you may click on the day you wish to view and use the > < keys to access the next or previous day.
Approval
To approve your employee’s time, click on the highlighted Pending line. The list of employees that have submitted time for that day will be listed for your review.
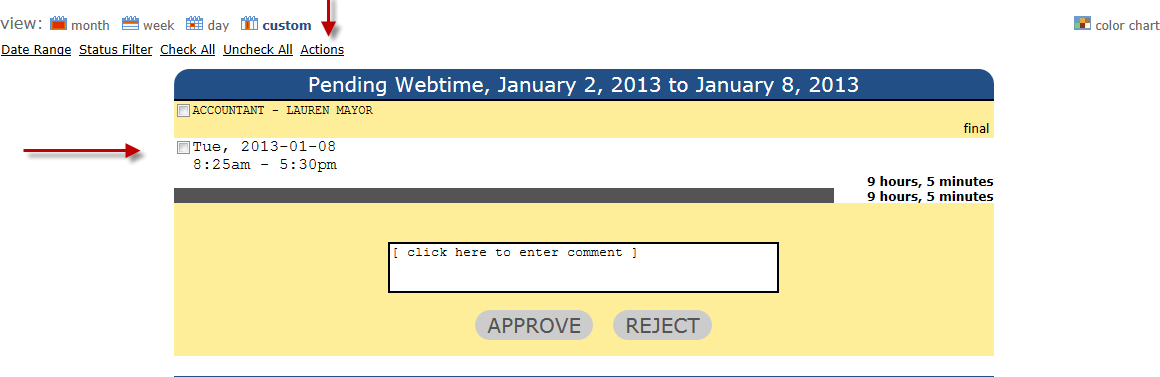
You may also add comments to the day in the text box provided. These comments will be viewable by the employee and the Staffing Agency Representitive.
Click on the boxes for each day you wish to approve or reject, and click on the Approve or Reject buttons.
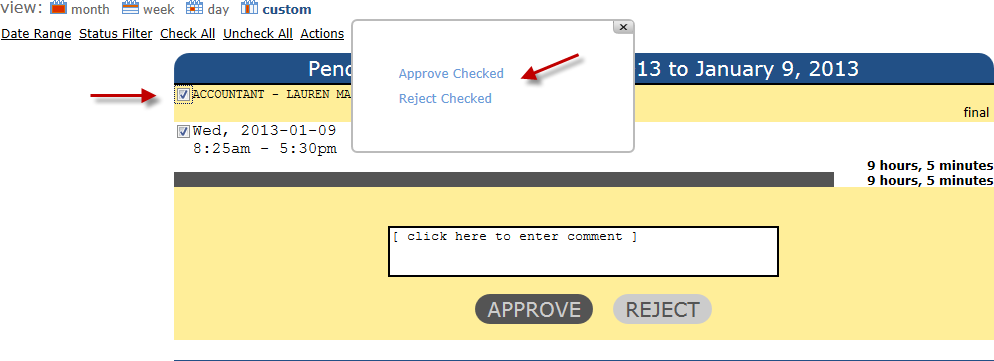
To approve or reject multiple days at once, click on the box next to the employee job title/name at the top of the banner and then click the Actions button at the top. That will enable you to approve or reject everything that has been checked for that day for all employees listed.
Approve All
Should you wish to list all of your pending approvals, click Custom on the top banner.
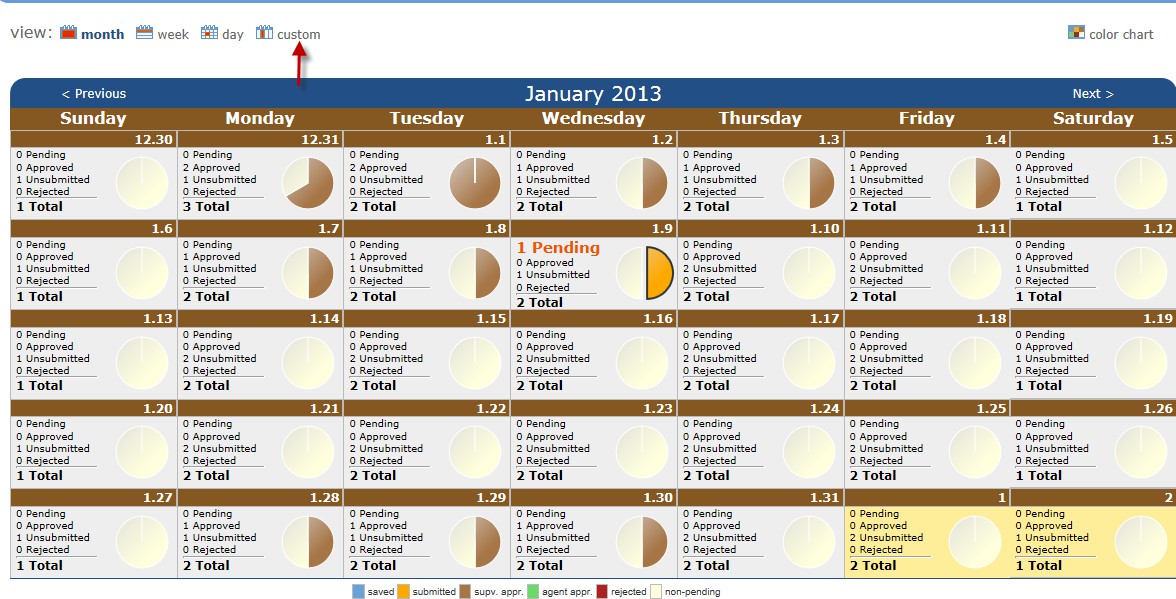
The Custom View will allow you to filter the records you wish to see. To get a full listing of all pending time awaiting your approval, click on the status filter and select Pending from the drop down box. You may also incorporate a specific date range by clicking on the Date Range and choosing the dates from the calendar.
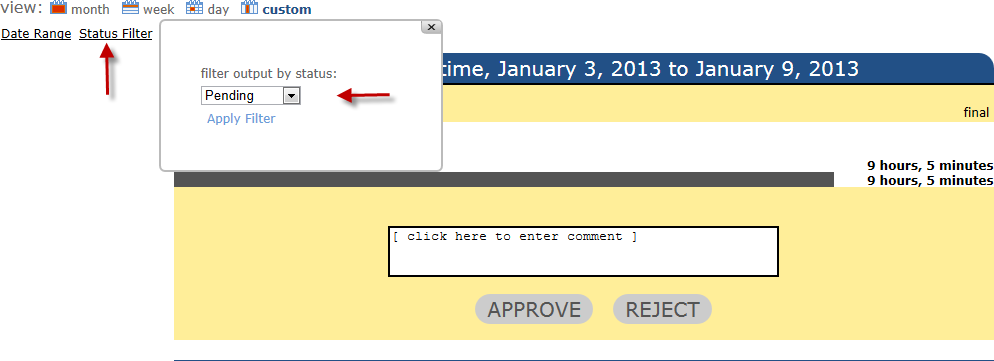
In this view, you can approve or reject all the pending time for your employees. To approve all time, click on Check All > Actions>Approve Checked.
Once you choose to approve time, the hours will be submitted to your agency for final approval and processing. If you choose to reject the time, an email will be sent to the employee so he or she can correct the entry and resubmit.
Action History
To see the history of all approved, rejected, and un-submitted time, select the options from the Custom drop down box.
A complete log of all activity is stored including date and time stamps under each day.
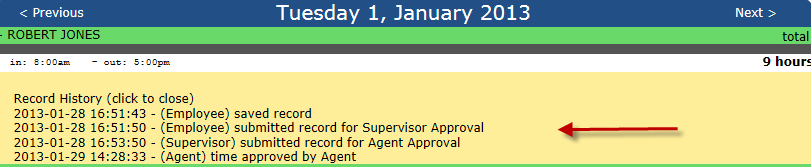
To change your view at any time, click on the Month, Week, or Day icons at the top of the screen under the Scheduler option.
You can follow the progress of the approval process by viewing the color associated with each action. When everything is complete and the agency has processed payroll, the records will be green
Settings
Under the Settings option, you have the ability to change your password, view your login history or change the range of dates that will appear on the Scheduler and when approving time.

Password
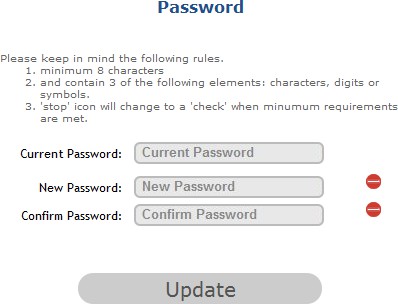
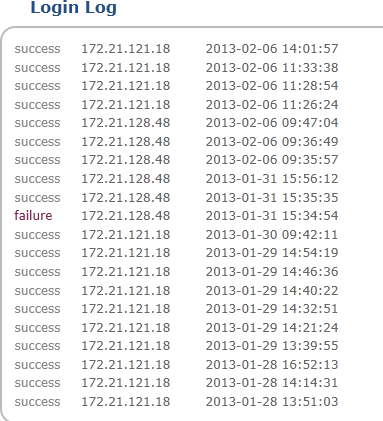
Login History
For security purposes, the system will keep track of your login history and the IP address used to access the system.
Options
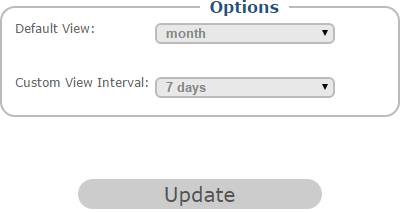
The Default view is what determines the screen that appears when you click on the Scheduler option. You have the ability to customize your screen to display the time frame you would like to view from the Scheduler and the days back when approving pending employee time. Please note, the default setting is the monthly view with a 7 day look back for pending time.